Today’s topic, “Getting it All Together – Organizing Your Book,” will help you if you are a new author who wants to get your main chapters laid out- including some of their subtitles. When you do this, you will be able to figure out what chapters to have in your book without having to keep wondering what you should include. We will look at four techniques to accomplish this.
Let me tell you what I mean…
Four years ago, my wife and I went to Japan. We went to visit my son and daughter-in-law. We arrived just one day before the birth of their youngest child. My wife helped out with the cooking and we had a great time visiting.
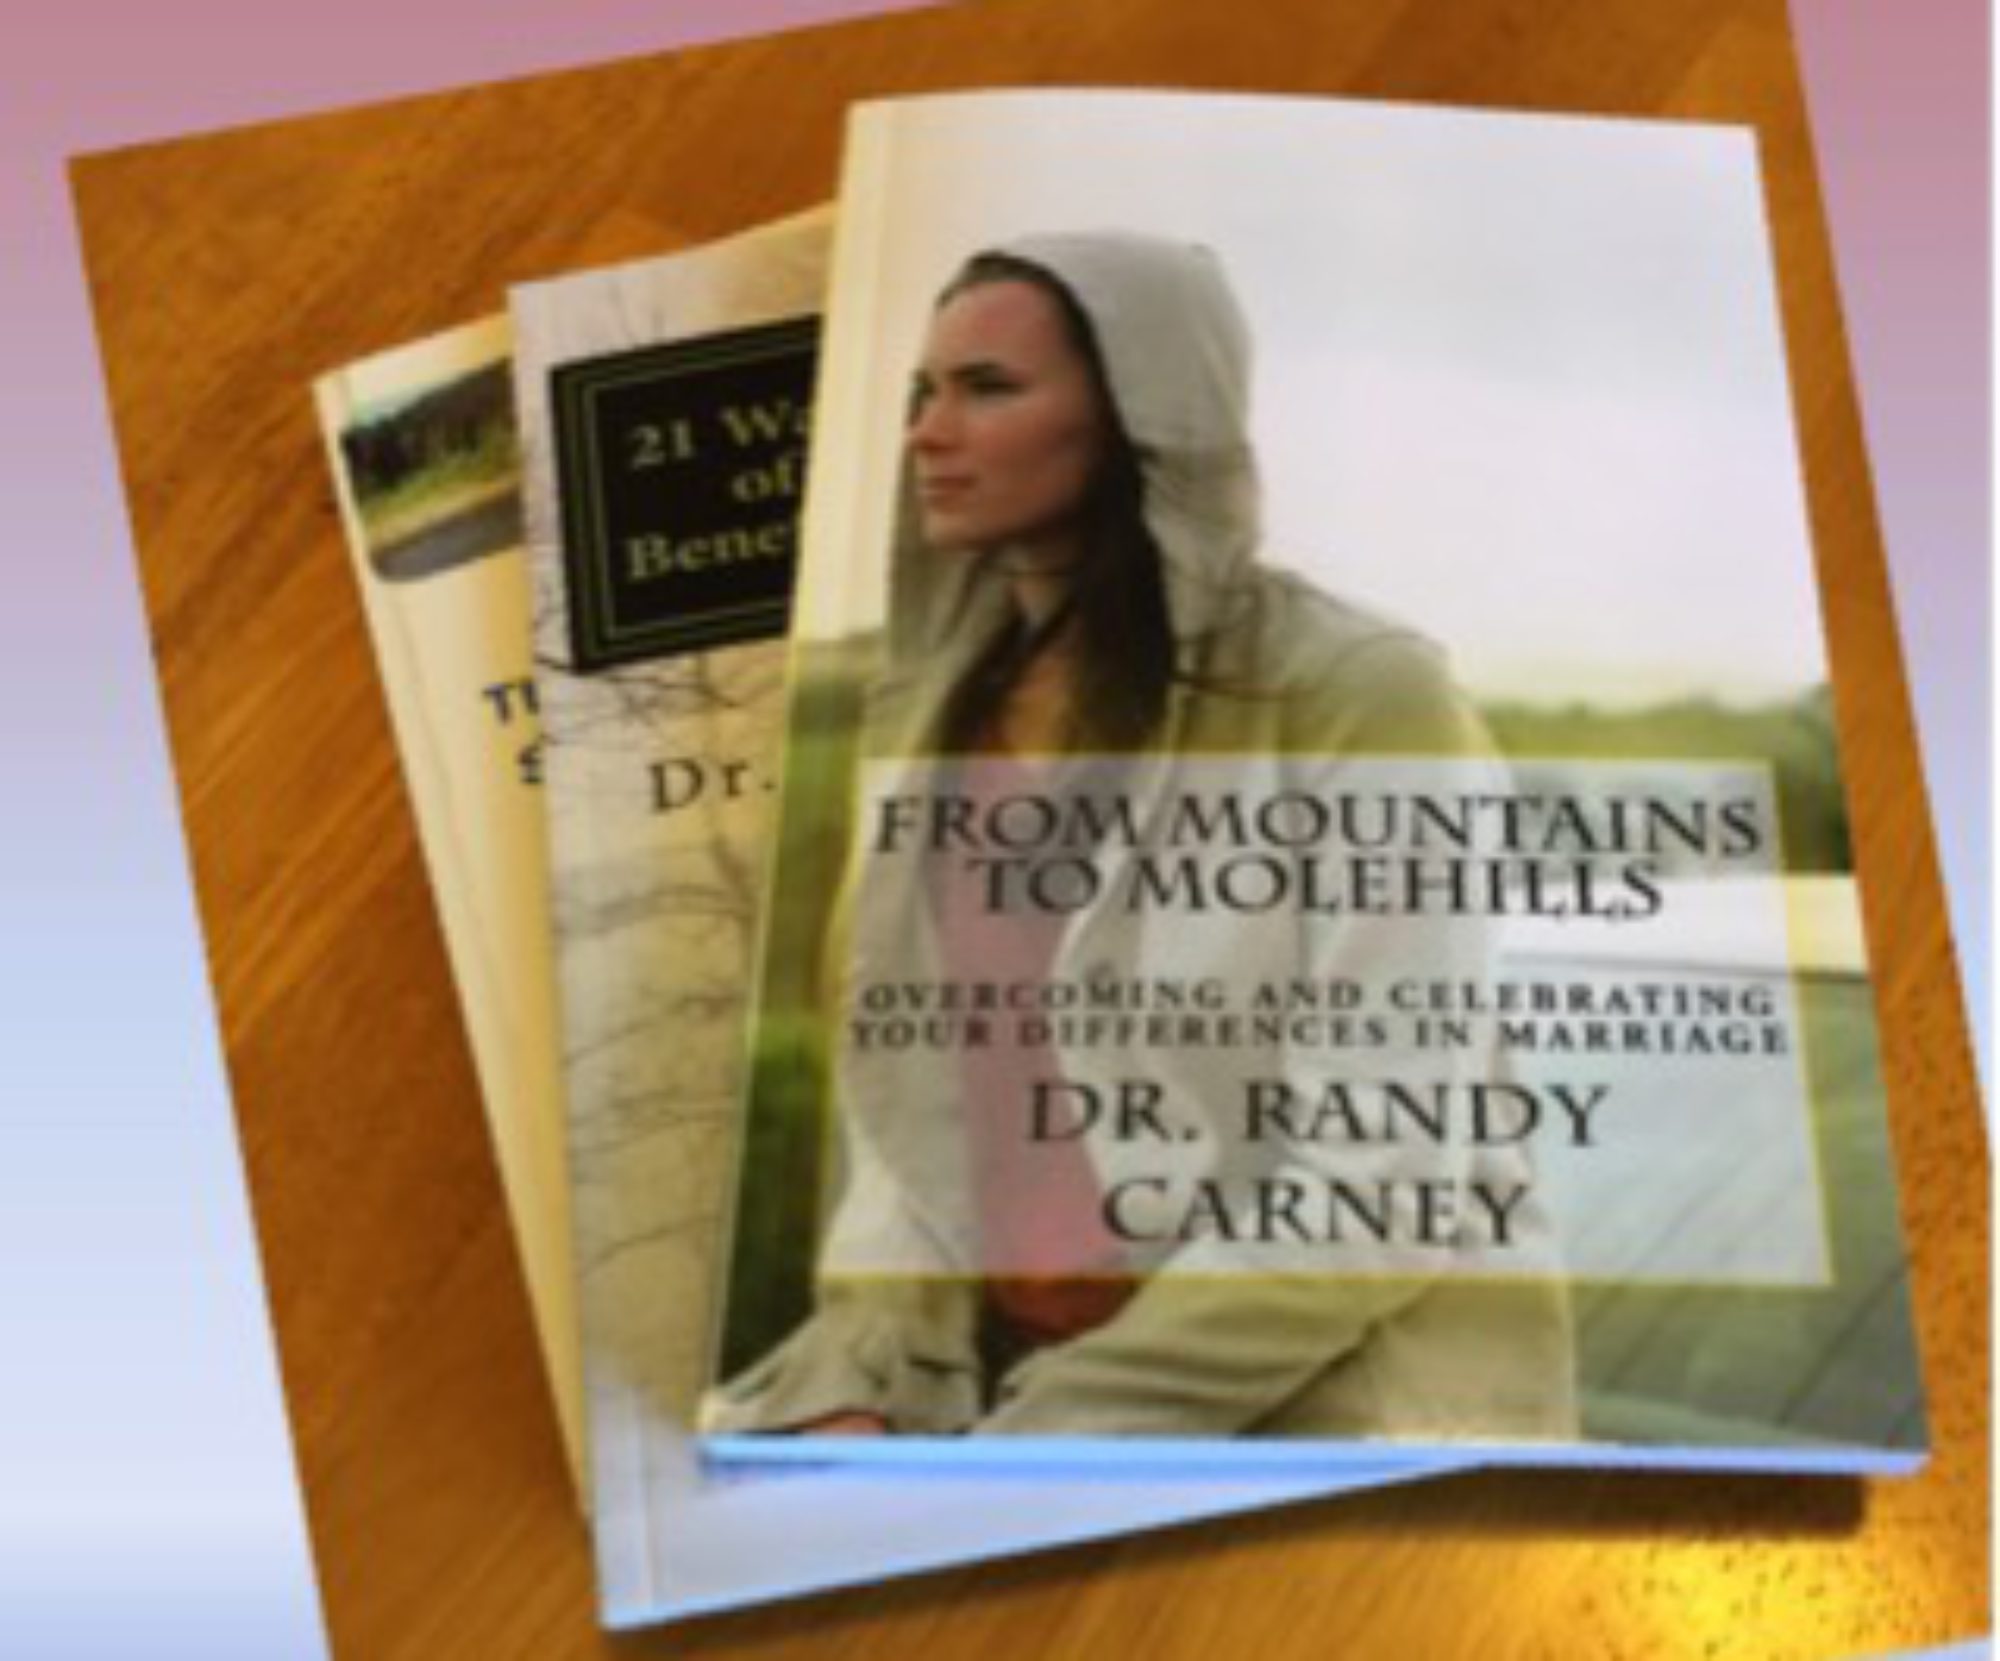
While there, I was working on the book, From Mountains to Molehills – Overcoming and Celebrating Your Differences in Marriage. I had four chapters and 50 pages already completed. These 50 pages and four chapters made up my first book. While I was in Japan, I was able to plan the expansion of the book to include fourteen chapters and 150 pages. Using that content, I am working on a series of books, “The Loving Way to a Successful Marriage”, using the acronym “LOVING”, with the first book being about Leaving and the next about Overcoming differences.

Technique #1 – Cool – No Judgment
This first technique I like to call, “cool, no judgment.” What you do is start off by brainstorming. Now, you know that if you’re brainstorming with a group of people, the idea is to just toss out ideas. The same is true when brainstorming on your own. Just write down whatever you can think of, no matter how outlandish it seems at the time. Don’t worry about how far-fetched it seems right now. You can come back later and weed out the less than desirable ideas. Write down questions. Think about what you may have read on the subject. Think about what you may want to research later. The idea is to get your mind working.
One way to brainstorm is to just take a legal pad of paper, and just start writing down ideas, one after the other, with each new idea on a new line. Don’t organize in any way at this point. Don’t evaluate. Just keep writing.
Another option that may help organize a little bit at the time of brainstorming is to create a mind map. Mind maps are great tools for brainstorming and organizing your book at the same time.
A mind map is a tool for the brain. It captures the thinking that goes on inside your head. It will help you think, collect knowledge, remember, and create ideas. To begin, put a topic in a middle “bubble” (similar to a thought bubble from a comic strip). Then, off to the side, put a line and another bubble. Put an idea related to the main topic in the side bubble. As you have other ideas related to the main topic, draw more bubbles. Then, as you think of things related to the side bubble, add another line, and another bubble, and put your idea in there. You can Google mind-mapping ideas for images to help you get started.
While it isn’t necessary, it may be helpful at this point to create an outline. The best outlines go down to at least the Roman numeral level, and maybe one step below that.
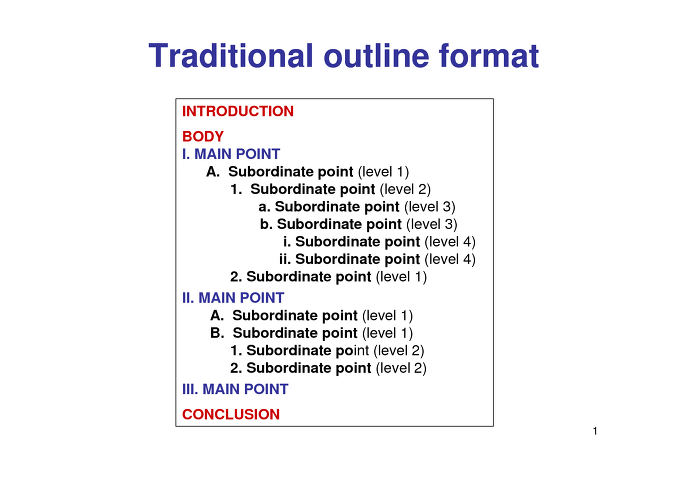
Some writers are also speakers. Many speakers like to use an alternate form of outlining that avoids using letters for sub-points. The reason is that is easier to think of “first, second, or third,” while looking at the numbers “1, 2, and 3,” than it is when looking at letters like, “A, B, and C.” I use the “numbers method” for outlining so often, I do it for my writing outlines too.
That type of outline then would look like the following:
INTRODUCTION
I. Main Point
…. 1. Subordinate point (level 1)
…. 2. Subordinate point (level 2)
……… (1) Subordinate point (level 2)
……… (2) Subordinate point (level 2)
II. Main Point
….. 1. Subordinate point (level 1)
….. 2. Subordinate point (level 2)
………. (1) Subordinate point (level 2)
………. (2) Subordinate point (level 2)
III. Main Point
Conclusion
Use whatever method works for you.
Technique #2 – Your Moveable Options
Moveable options are things like sticky notes or note cards. While in Japan working on my book, I used note cards. I wrote my ideas down on the cards and spread them out on the bed in the room where we were staying. This way, I was able to rearrange the cards, creating new trains of thought. Being able to move things around is very helpful when it comes to organizing your book.

Sticky notes are another moveable option. Some people put them on a big whiteboard and rearrange them when new thoughts or ideas come to mind.
Of course, computers are another option. It’s easy to cut and paste snippets of text from one place to another. You have various software options too. One, called Scrivener, allows for moving ideas from place to place. I use it at times.
Technique #3 – Your Big Picture – Even On One Page
If you haven’t already created a mind map, now would be a good time. You can take your brainstormed ideas and put them on the mind map. Bear in mind, your whole book is probably not going to fit on an 8 1/2 x 11 sheet of paper. So, what you will probably end up doing is starting with maybe 9 sheets of paper: three for the top, three in the center, and three at the bottom. This will give you one big sheet of paper. Then you can start in the middle with your main idea and branch out from there. The idea is to get it all together in one big sheet. You can get a glimpse of your whole book this way, and it’s quite motivating. The preliminary steps discussed above make it easier to get to this point.

Most people feel more creative when using pen and paper to create mind maps, but there are some good online tools for this too. One of the ones I use occasionally is called “Freeplane”.
Technique #4 – Your Chapter Titles and Subtitles
Having gone through the above steps, you should be able to produce your chapter titles with your subtitles underneath them. It would look like this:
Chapter Title … Chapter Title … Chapter Title … Chapter Title … Chapter Title
… Subtitle ……………..Subtitle………………… Subtitle……………….. Subtitle……………….. Subtitle
… Subtitle ……………..Subtitle………………… Subtitle……………….. Subtitle……………….. Subtitle
… Subtitle ……………..Subtitle………………… Subtitle……………….. Subtitle……………….. Subtitle
… Subtitle ……………..Subtitle……………….. Subtitle………………… Subtitle……………….. Subtitle
… Subtitle ……………..Subtitle………………… Subtitle……………….. Subtitle………………… Subtitle
You will probably have different numbers of subtitles. This is just an example. Ten to twenty Chapters are a good number for a print book. Having the chapter titles and subtitles all laid out in a preliminary fashion is a good result of preliminarily organizing your book.
So, here are the big takeaways from today’s organizing your book topic: You can organize your book. You can brainstorm. You can use some moveable options. And you can get the big picture on one page by using a mind map.
Now, if you’re one of those new authors who are serious about wanting to take this to the next level, let me invite you to check out my Six-Figure Writing Course.
For more writing tips, click here or on the writing tab at the top of the page.
I think that your article is quite linear, sequential, and logically concise. This is evident at the most simple level, not to mention how your picture just oozes this quality. However, I digress, I appreciate how you have a miscellaneous folder.
Anyways, you do a great job of explaining the writing process and more importantly the outlines for the draft to lead to the polished book.
I did feel myself get a bit lost in your blueprint for organization. It seemed kind of random, unprecedented.
Still, you illustrate how to expand your book, and I could clearly envision the “From Mountains to Molehills” bit.
That said, I am also an author. I have several unpublished books, and I love to write in a journal format (xx/xx/xxxx), which can definitely serve as a template for chapters and overall organization.
Like a sharpened, left-brained pencil, you end and begin very strong.
Thanks, Bethebest,
The blueprint can look sort of random; however, when you rearrange the ideas in the best order for you and your readers, it takes shape more.
This will enable you to get the rough draft done. Some of the ideas from this process will be eliminated when you do your editing.
Journals can be very helpful for writing books.
I wish you well in your future writing.
Randy
These techniques for organizing your book are very useful. I like the ideas of creating a mind map to have the big picture on 1 page. I also like the moveable options of having sticky notes or note cards.
Thanks, Maryse,
I hope these ideas will be helpful. The note cards worked well for me when I was finishing up a book while on a trip to Japan.
Randy
Hi Randy
Finding your blog post is perfect timing for me. I have a half written, very disorganised book and I am certain that using a mindmap will help me get it organised. What software do you use for creating your outline? Do you have a preference or a recommendation please?
Thank you
Richard
Hi, Richard,
I hope using a mind map will be helpful.
There is a software called, “Freeplane,” that is helpful for producing mind maps, but I find just using pen an paper to be a little faster and maybe even a little more creative.
For outlines, I just use Microsoft Word.
I wish you well as you continue your writing.
Randy